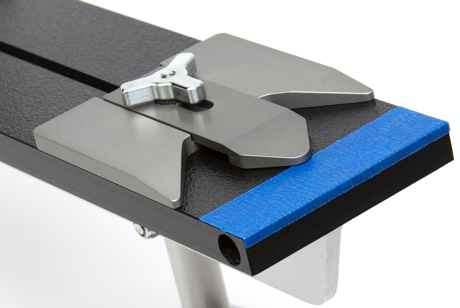
Multi-Point Adjustable Slide Guide for Apex and Pro Sharpeners
Posted by EdgePro on Mar 22nd 2021
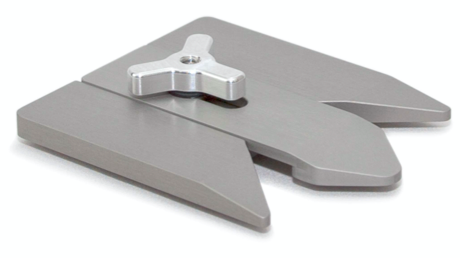
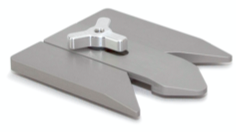
- Two points of contact for improved stabilization and quicker blade placement on your knife sharpener systems.
- Lockable center piece that independently slides back and forth and can lock in to position to accommodate a wide variety of blade shapes and sizes.
- 6061 T6 machined aluminum with .002” thick hard anodized coating for superior long-term protection.
Shop New Pro Model Slide Guide
WATCH HOW SHARPENING WITH THE NEW SLIDE GUIDE TAKES THINGS TO A WHOLE NEW LEVEL.
SLIDE GUIDE SETUP AND OPERATION

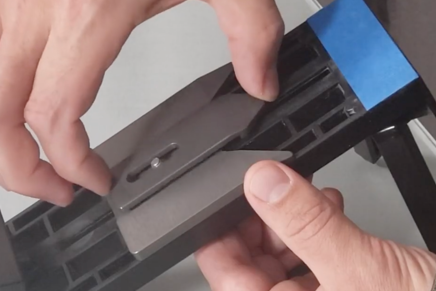
STEP 1
Remove the original guide plate that came with your machine

STEP 2
Install the base plate of your new slide guide
STEP 3
Place the center piece on top of the base plate allowing the set screw to come up through the middle.
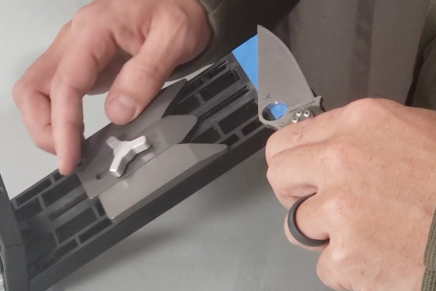
STEP 4
Thread the included wingnut on to the exposed center screw and lightly tighten it down so you can still slide the whole guide.
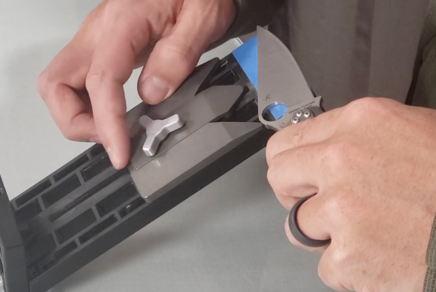
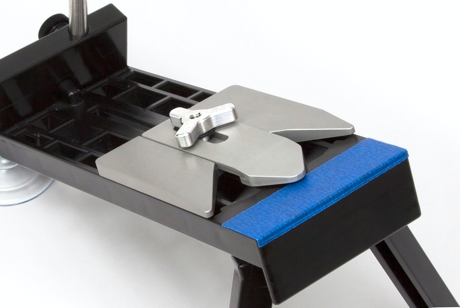
STEP 5
Place your knife on the machine’s table so you can begin to position the slide guide with your knife.
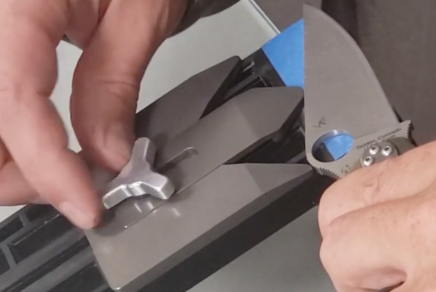
STEP 6
Slide the base plate of the guide up until one of the outer points makes contact with your knife and then slide the center piece up until it makes contact with the center part of your knife. This should allow your knife blade to align almost parallel with the edge of the machine’s table
THE NEW SLIDE GUIDE WORKS WELL WITH POCKET KNIVES* BETWEEN 2.75”- 5”

*Keep your original guide plate for larger knives that need to slide across the table as you sharpen.
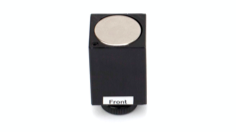
PAIR THE NEW SLIDE GUIDE WITH OUR MAGNET AND BENCH MOUNT ACCESSORIES FOR THE BEST SHARPENING EXPERIENCE