Why Everyone Should Own a Knife Sharpening Stone
Posted by Cody Kendall on Jun 3rd 2026
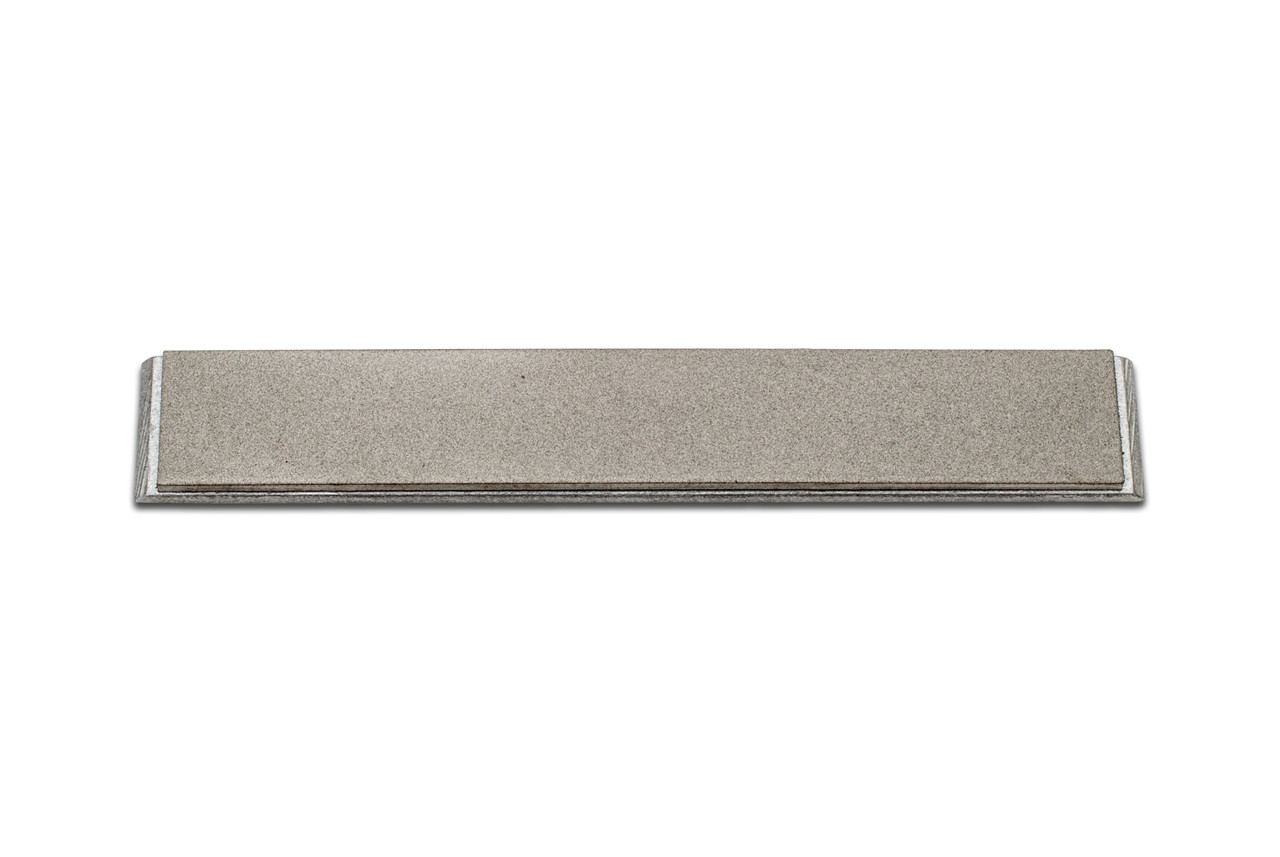
What Is a Knife Sharpening Stone?
A knife sharpening stone is an abrasive block that removes tiny amounts of metal from a blade to rebuild the blade edge. Most people call them sharpening stones or a whetstone.
Think of it like sanding wood. You start rough when the edge is in bad shape, then move finer to refine and polish. A stone gives you direct control over the sharpening process, including the sharpening angle, the pressure you use, and how much steel you remove.
Some stones require soaking. Others are “splash and go.” The right choice depends on stone material and your routine.
The Importance of Keeping Knives Sharp
A dull knife makes you push harder. That extra force can reduce control and increase the chance of slipping. University of Rochester Medical Center puts it clearly: a dull blade needs more pressure, which increases the chance the knife will slip.
A sharp edge improves daily cooking in practical ways:
- You slice cleanly through tomatoes, onions, and herbs.
- You get a smoother, quieter cut during food prep.
- You avoid crushing delicate foods.
- You reduce frustration that leads to rushed, unsafe motions.
If you cook often, “knives sharp” is not a luxury. It’s basic kitchen performance.
Key Benefits of Owning a Sharpening Stone
A stone is not just another gadget. It changes how you maintain knives.
You control the edge, not the tool. With stones, you decide the correct angle and keep it consistent. That’s the path to a clean, strong knife edge that lasts.
Edge Pro describes sharpening as a repeatable process and highlights how a consistent edge angle improves results and reduces wasted strokes. You remove less steel over time
When you sharpen earlier, you do fewer heavy repairs later. That means less steel removed across the life of the blade.
A stone lets you:
- Fix a rounded tip.
- Reset a tired edge with a lower grit stone.
- Refine the edge to improve sharpness and feel.
- Maintain different knives, from a common chef knife to many japanese knives.
You get more control than most alternatives
Manual tools can be fast, but stones let you match the blade and the job. Once you learn all the basics, you can tune an edge for durability, bite, or polish.
Sharpening Stone vs Other Knife Sharpening Tools
Manual sharpeners are quick. They work well for fast touch-ups. They also lock you into fixed angles and abrasive behavior that may not fit every blade.
Stones take more practice, but they give you full control of the angle, pressure, and finish.
Stones vs honing rods and steels
A honing rod or honing steel helps maintain an existing edge by realigning it. It does not fully rebuild a dull bevel.
Serious Eats explains that honing realigns the existing edge and does not remove metal, while sharpening restores a dull edge by removing metal.
Use a rod to maintain. Use stones to sharpen.
Stones vs a professional service
A professional knife sharpener can be a smart option if you have expensive knives or you feel unsure. But owning stones lets you maintain edges between tune-ups so you stay sharp year-round.
Types of Sharpening Stones
Not all stones behave the same. These are the common categories home cooks see.
- Water stones
Water stones are popular because they cut fast and give good feedback. Many need soaking, while some only need a splash of water.
- Oil stones
Oil stones use oil instead of water. They tend to cut slower and stay flatter longer, depending on the stone.
- Diamond stones
Diamond stones use a diamond abrasive layer. They cut quickly and work well for hard steels. They also do not require soaking.
- Synthetic vs natural
Most beginners do great with synthetic stones because they are consistent. Natural stones can be excellent, but they are harder to “learn on” because behavior varies.
How Often Should You Sharpen Your Knives?
There is no single schedule. It depends on cooking frequency, board material, and steel type.
A simple rule:
- Hone often, especially if you cook daily.
- begin sharpening when honing stops restoring performance.
Serious Eats suggests many home cooks can sharpen around twice a year, with honing in between, though usage varies.
If your knife slides on tomato skin or crushes herbs, it’s time to sharpen.
How to Use a Sharpening Stone (Step-by-Step Guide)
If you want to sharpen knife with stone, you need two things: a stable setup and a repeatable angle.
Step 1: Set up a stable station
- Place the stone on a non-slip base or damp towel on a cutting board.
- Make sure you have a flat surface.
- Keep a towel nearby for wiping.
Step 2: Prep the stone
- If the stone requires soaking, soak until bubbles slow down, then keep it wet.
- If it’s splash-and-go, add water to keep the surface lubricated.
Step 3: Choose the right grit
- Use a coarse grit if the knife is very dull or damaged.
- Use medium grit for regular sharpening.
- Use fine grit to refine and polish.
Step 4: Find your sharpening angle
Pick a sharpening angle and keep it. That matters more than chasing perfection.
Edge Pro recommends sharpening most knives around 21 degrees for a balance of sharpness and durability, with lower angles for thinner knives and higher angles for heavy-duty blades.
For beginners, start in a practical range and stay consistent. That “same angle” is your best friend.
Step 5: Start sharpening on the first side
- Place the blade on the stone so it is making contact along the bevel.
- Use even pressure.
- Move the knife across the stone in a controlled push motion, heel to tip.
- Keep the edge moving in the same direction so you don’t wobble.
Work the entire length of the blade. Don’t over-focus on the middle and ignore the tip.
Step 6: Raise a burr
A burr is a thin lip of metal that folds over when you reach the apex of the edge. You can feel it by lightly brushing your fingertip from the spine toward the edge. Do not slide along the edge.
You may see it with a magnifying glass if you want confirmation. Some people call it a tiny burr or wire edge.
If you sharpen and never feel a burr, you likely missed the edge or used too high a grit for the condition.
Step 7: Flip and repeat
Now work the other side with the same number of strokes and the same angle.
This is where many people fail. They sharpen one side longer, then wonder why the knife pulls in cuts.
Step 8: Refine with finer grit
Once the edge is formed, move up in grit. Use lighter pressure. Let the stone refine the scratch pattern and improve sharpness.
Step 9: Deburr and finish
- Make a few lighter passes.
- You can finish on a leather strop to clean up the apex and reduce any remaining wire edge.
Then test. A sharp knife should start cuts without sliding and should slice cleanly.
Common Mistakes to Avoid
Most stone frustration comes from a handful of errors.
- Changing angle every stroke. This rounds the edge instead of sharpening it.
- Using more pressure when the angle is wrong.
- Staying on fine grit when the knife needs coarse work.
- Ignoring the tip, or creating a rounded tip by lifting too high.
- Sharpening too little on one side, then overcorrecting later.
- Skipping deburring, which leaves a weak wire edge.
Edge Pro’s sharpening guidance emphasizes repeatability and edge-angle consistency as the difference-maker.
How to Choose the Right Sharpening Stone
If you’re buying your first stone, don’t overbuild the kit. Pick a setup that you will actually use.
A simple beginner setup
- One medium grit stone for general sharpening
- Add a coarse stone later if you deal with damaged edges
- Add a fine stone later if you want a polished finish
Quick selection factors
- Steel type: harder steels may benefit from diamond or quality water stones
- Usage: daily cooking needs a reliable medium stone and a honing routine
- Maintenance tolerance: some stones need soaking and flattening more often
- Space: stones store easily and travel well
How we made these recommendations (methodology):
We prioritized tools that help beginners keep a consistent angle, produce a burr reliably, and sharpen a chef knife without removing unnecessary metal. We also favored setups that scale, so you can add stones rather than replace the system.
If you want guided consistency, a bench mount knife sharpener can help you maintain angle without guessing. If you want to compare guided options, link users to edge pro knife sharpener resources and related accessories.
Conclusion
A sharpening stone is one of the few kitchen tools that keeps paying you back.
It saves you time during prep. It saves steel over the life of the blade. It keeps your knife predictable, which makes cooking feel easier and safer. It also gives you the skill to maintain your own tools instead of waiting until everything is dull.
If you cook at home, owning a knife sharpening stone is not “extra.” It’s the cleanest way to keep a sharp edge on demand.
Frequently Asked Questions
How long does it take to sharpen a knife with a stone?
For a lightly dull knife, 5–15 minutes is common once you know the motions. For a very dull knife or edge repair, it can take longer, especially if you start on a lower grit stone.
Do I need to soak a sharpening stone before use?
Some water stones require soaking, while others are splash-and-go. Check the manufacturer instructions for your specific stone type.
How do I know when my knife needs sharpening?
If the knife slides on tomato skin, crushes herbs, or requires more pressure to start cuts, it’s time to sharpen. If honing no longer helps, it’s definitely time.
How often should I replace a sharpening stone?
Most stones last a long time with proper care. Replace if the stone cracks, breaks, or wears unevenly beyond what flattening can fix.
What angle should I use when sharpening a knife?
A practical range for many kitchen knives sits around 15–22 degrees per side, depending on blade thickness and use. Edge Pro notes 21 degrees as a common balance point, with thinner knives lower and heavy-duty knives higher.